Woven Soft Speaker Tutorial with Craftwork
Knowledge hub

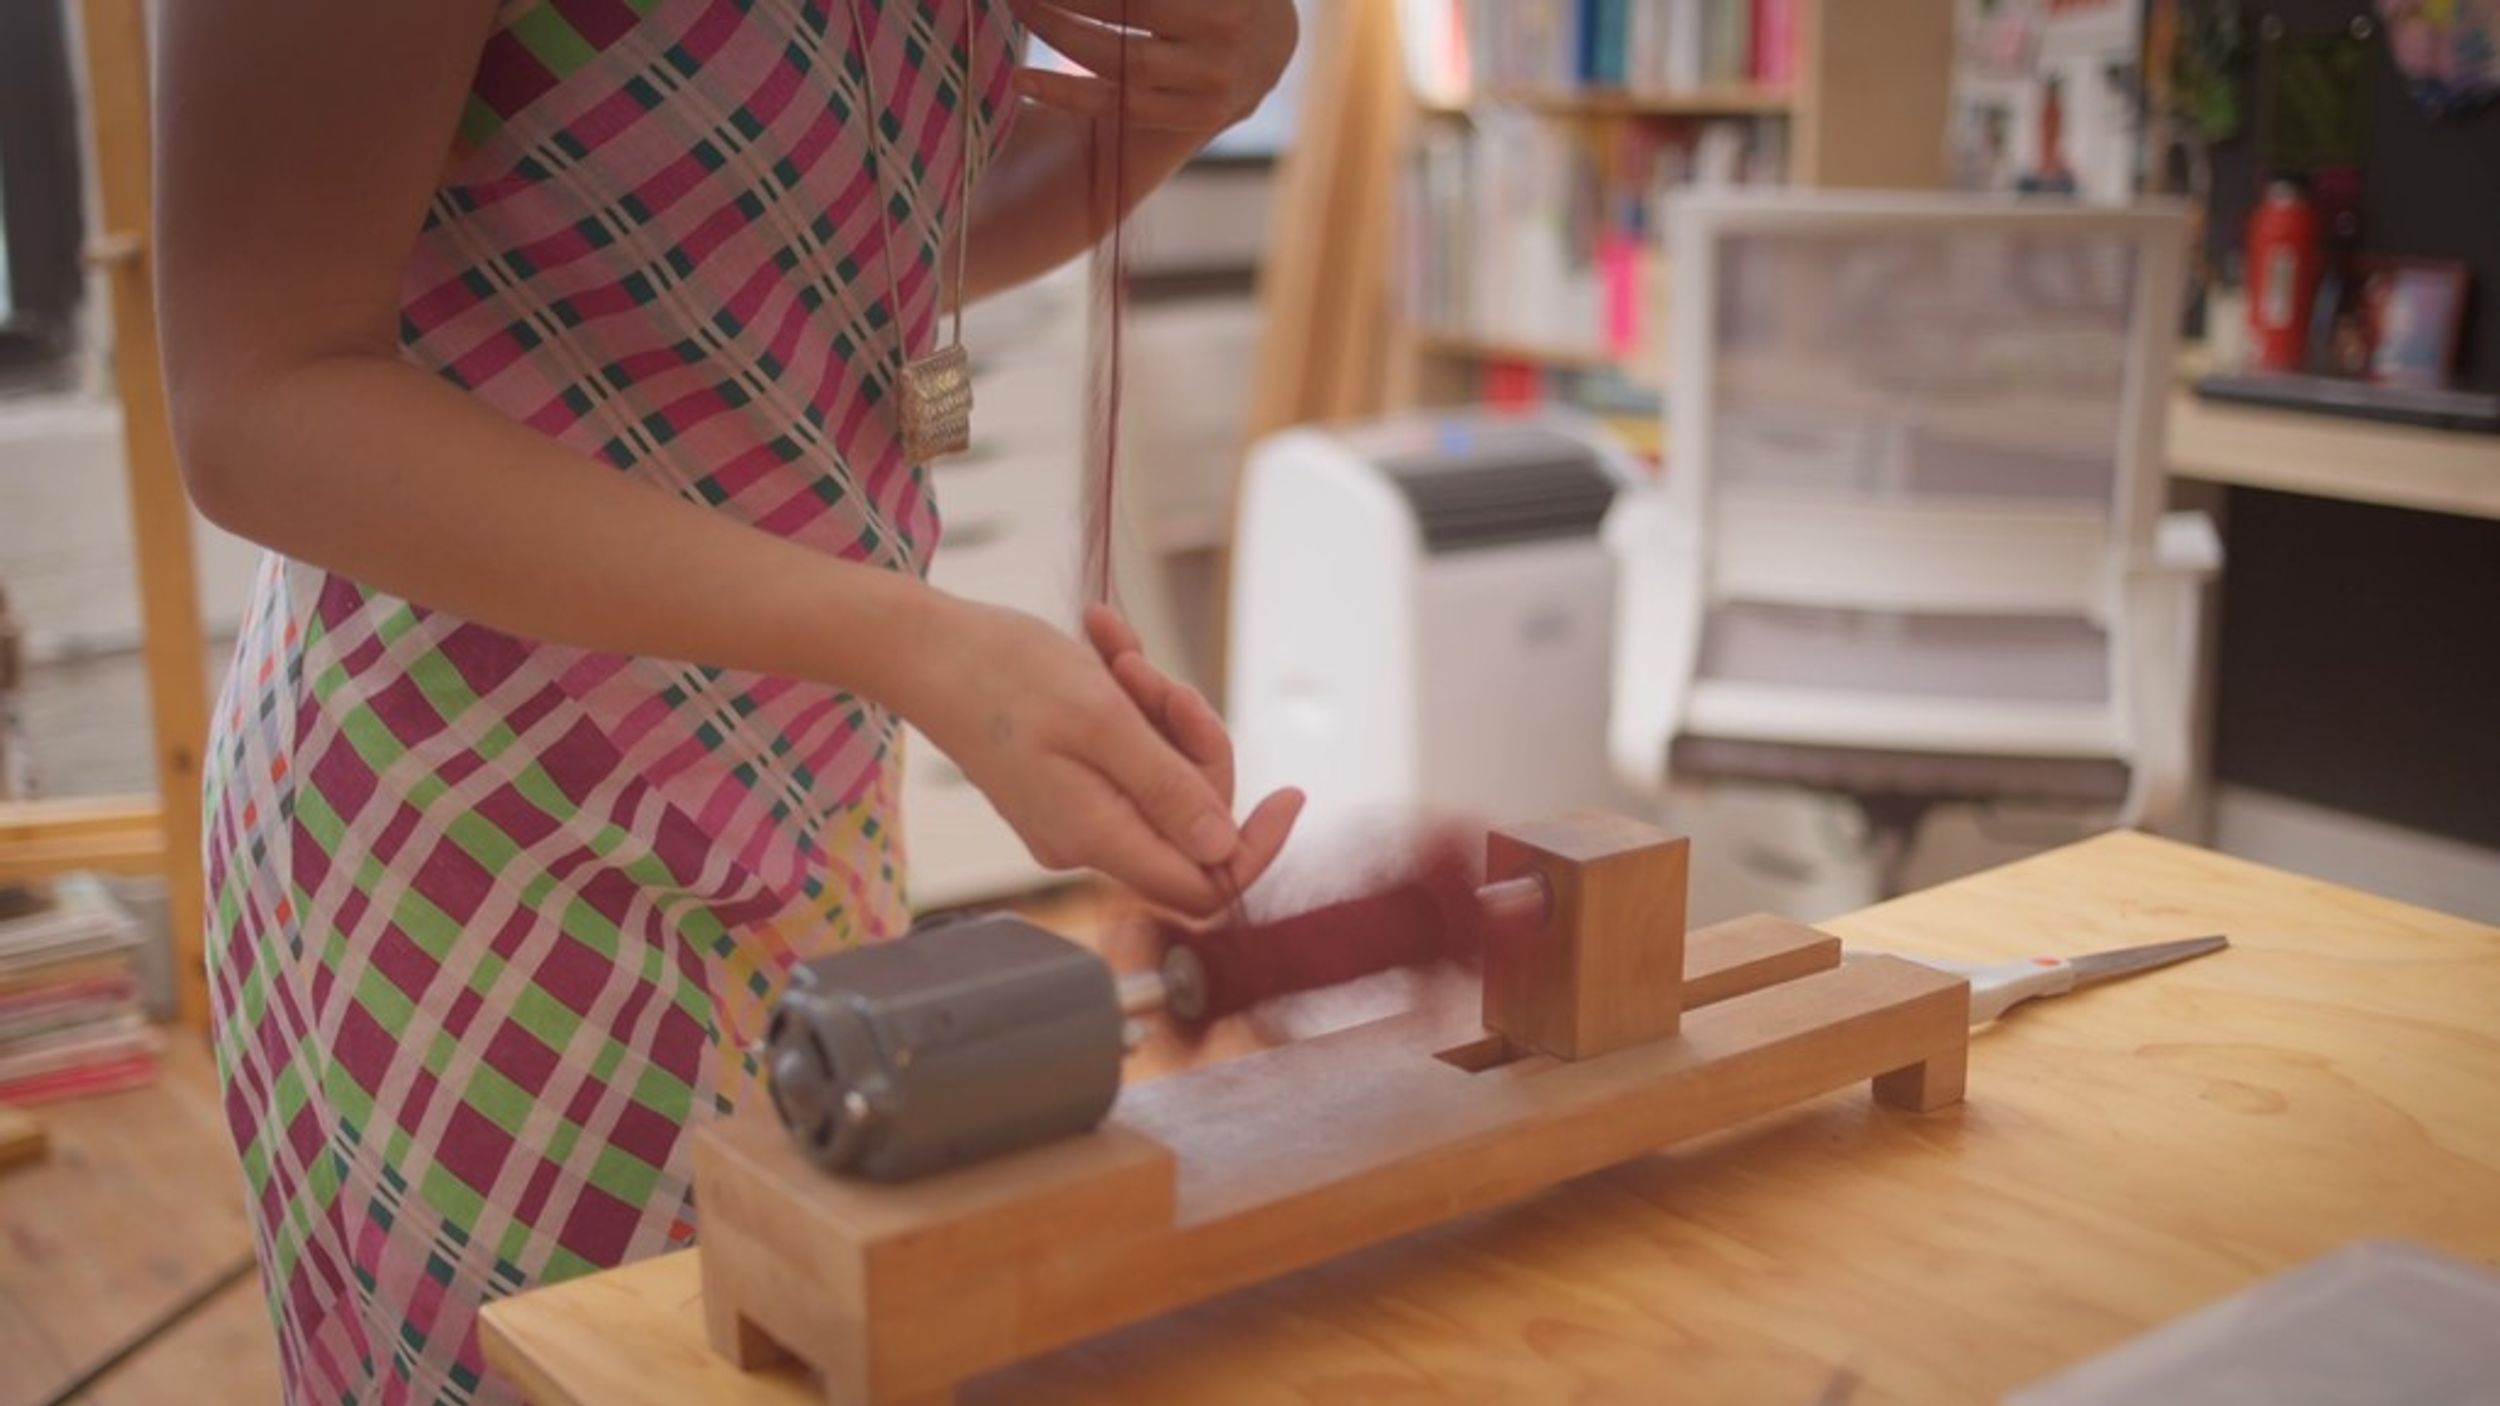
Cycle Circle Cycle Coil | Woven Soft Speaker Tutorial (still), 2025. Directed by Rikki Porter.
Cycle Circle Cycle Coil | Woven Soft Speaker Tutorial
08 Oct 2025
Recorded sound has transformed the way we express ourselves, share stories, and compose music. How might we reimagine the experience of storytelling and listening if our speakers were constructed from fabric or woven from yarn? What stories would ordinary objects record and retell?
Craftwork is the joint practice of Nicole Yi Messier and Victoria Manganiello, and explores the intersection of textiles and technology through installations, storytelling, and material-based research. Craftwork are interested in creating diverse forms of electronics and technology through soft interfaces.
Through this hands-on tutorial, we invite you to consider how traditional textile techniques can become vessels for sound, and how the materiality of fabric might change our relationship to the voices and stories we carry with us.
Cycle Circle Cycle Coil draws inspiration from the work of Kobakant , Jess Rowland , and many others in the eTextiles community. By exploring speaker technology with traditional double cloth weaving techniques, we are making fabric and speakers simultaneously.
Find step-by-step instructions on how to create your own woven soft speaker below. Make alongside the accompanying video guide or with this illustrated downloadable pdf.
Craftwork introduce woven soft speakers from their studio
Woven Soft Speaker Tutorial
Materials Required
Essential Materials:
- Hand loom kit (including two weaving sticks, bobbins and comb)
- Yarn (three colors)
- Copper coated wire
- Adafruit Mono 2.5W Class D Audio Amplifier - PAM8302
- Arduino Uno
- Phone with audio jack
- Stereo Male Plug to Bare Wire Pigtail 3.5mm Jack Connector Adapter
- Rare Earth Magnets
- Scissors
- Lighter or sandpaper
- Small Alligator Clip to Female Jumper Wire Bundle
- Solderless breadboard
Optional (but recommended):
- Multimeter
Step-by-step video guide
Step One – Prepare Your Loom
Dress Your Loom
- Place your hand loom flat on your work table. Take the end of your Color A yarn and tie it securely to the bottom bar of the loom to anchor your thread to the frame. This is the warp thread.
- Wrap the warp thread around your loom by bringing the thread up and around the notches, then back down. Keep wrapping until your warp reaches your desired tapestry width.
- Maintain consistent tension throughout the warping process. When finished, the warp should feel tight and taut.
- Once fully warped, tie a knot on the same side where you started to secure everything in place. Cut the thread, leaving a short tail.
- Flip your loom over to the back side. Using Color B yarn, repeat the exact same warping process.
Step Two – Begin with Plain Weaving
- Place a weaving stick under every two warp threads (each pair should contain one thread from Color A and one from Color B).
- Cut a generous length of Color C and thread it onto your bobbin.
- Using the weaving stick placed within the warp, slide your bobbin from left to right through the opening so your weft (Color C) sits under and over the selected warp threads.
- Use your comb to pack down this first row.
- From the right side, hand-pick the alternate pattern created by your weaving stick. Once you reach the left side, use your comb to pack down this second row.
- Repeat this left-to-right pattern until you have a few inches of plain weave.
Step Three – Continue with Double Weaving
- Side A Setup: Place a weaving stick under every other warp thread of Color A and move it to the top of your loom. Side B Setup: Repeat this process on Side B with Color B warp threads.
- Side A: Using Color C on your bobbin, use the weaving stick to guide your bobbin through only the Color A warp threads.
- Flip to Side B: Continue with the same Color C bobbin, use the weaving stick to guide your bobbin through only the Color B warp threads.
- Flip back to Side A: With the same bobbin, hand-pick every other Color A warp thread in the reverse pattern of your weaving stick.
- Flip back to Side B: With the same bobbin, hand-pick every other Color B warp thread in the reverse pattern of your weaving stick.
- Continue Pattern: Flip back to Side A and repeat this four-row sequence until you have a few inches of double weave.
Step Four – Introduce the Copper Wire
- Continue the double weaving pattern from Step 3, but replace Color C with copper wire (on a new bobbin) for rows 2 and 4 only. You will continue to use Color C for rows 1 and 3 in the sequence. Maintain the same rotational direction.
- Repeat this process until you have at least one inch of double weave containing the copper wire.
- Finish with a few more inches of double weave using only Color C (no copper wire).
Step Five – Prepare Your Woven Speaker
- Remove your completed weaving from the loom
- Strip the coating from the ends of the copper wire you wove with using one of these methods:
- Lighter method: Carefully burn off the coating at the wire ends
- Sandpaper method: Sand the wire ends until the coating is removed and bare copper is exposed
Step Six – Set Up the Amplifier
- Insert header pins into the Adafruit MAX98357A amplifier
- Place the amplifier into the breadboard. If you have never used a breadboard, here is a quick tutorial
by Sparkfun.
- Connect the power supply from your Arduino:
- Connect Ground from amplifier → Ground on Arduino
- Connect Power on amplifier → 5V on Arduino
- Note: This amplifier requires 2.7V-5.5VDC power supply
- Connect the A+ and A- terminals on the amplifier to the two ends of your phone's audio jack. A+ and A- are analog audio input pins which can connect directly to a phone or other device’s headphone jack.
Step Seven – Connect Your Woven Speaker
Connect the + and - terminals from the green terminal blocks directly to the two prepared ends of your woven speaker (the stripped copper wire ends). These are the speaker output terminals (OUT+ and OUT-)
Step Eight – Test Your Creation
Place the magnet in the pocket of your woven speaker and press play on your phone and enjoy your handmade woven speaker!
Troubleshooting Tips
- Use a multimeter to check connections if the speaker isn't working
- Ensure all wire connections are secure
- Verify that the copper wire ends are properly stripped and making good contact
- Check that your Arduino is properly powering the amplifier board
- Check that your magnets are sitting inside the weaving between the two layers of double woven conductive thread
About the artists
Craftwork is the joint practice of Nicole Yi Messier and Victoria Manganiello where they explore the nature of textiles and technology through installations, storytelling, and material-based research. Their broad-based skillset focuses on creative technologies, textile fabrication, and novel materials explored through historical and cultural contexts. Embracing collaboration, they intentionally engage in experimental techniques in both the physical and digital realms, frequently intertwined.

Cycle Circle Cycle Coil | Woven Soft Speaker Tutorial was produced as part of Signal to Noise, 2025.
